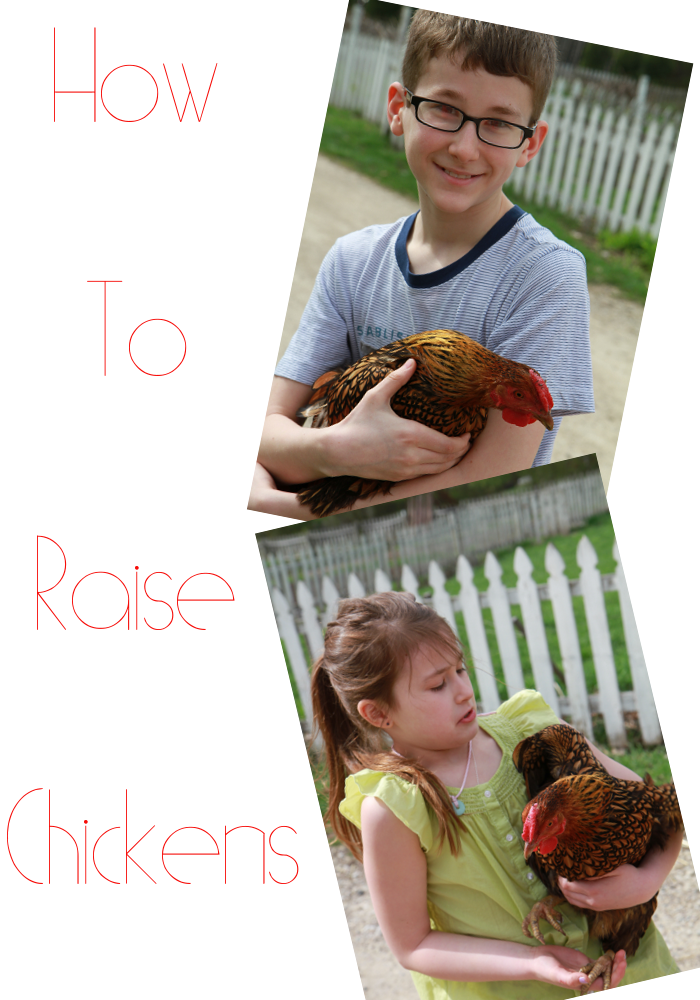
How To Raise Chickens
How To Raise Chickens from incubating eggs to baby chicks to chickens in your home without living on a farm.
What came first . . . the chicken or the egg?
Well, obviously . . . The EGG!
Who knew chickens could be so awesome?
I was born and raised in rural Iowa. My grandmother had a farm and I practically lived there.
I remember that I loved to round up the chickens for her and gather all the eggs. I have always wanted to have my own chickens and fresh eggs in our back yard. I have lived in Illinois for over half my life now and still want chickens in my back yard.
Unfortunately, my village does not allow for homeowners to have chickens. I keep hoping this will change soon.
What we do each year to stave off my need and want for chickens is have a unit study at the end of the school year on hatching and caring for chicks. Since I can't have chickens, this will have to do . . . for now.
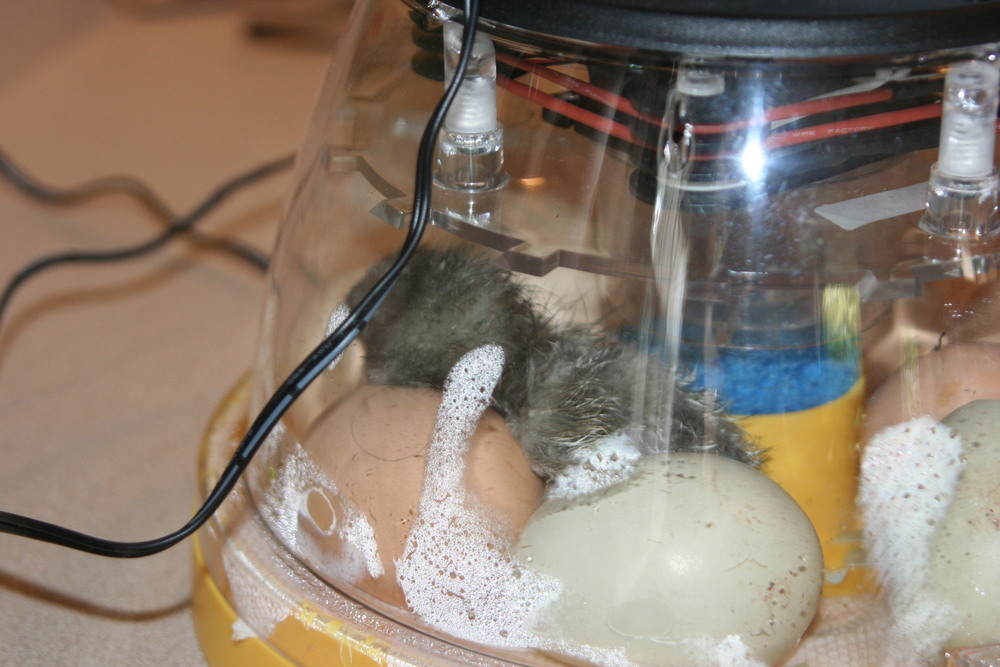
We were able to locate a local farmer this year who provided us with as many eggs as we wanted. I have a couple of different incubators, but . . . the lid is lost on one of them (in the basement storage vortex) and one I do not think hatches well. So, the one incubator left will only hold 24 chicken eggs. So that is all the eggs I was able to take on this year to hatch.
My kids were SO excited! Almost as much fun as Disney! But cheaper!!
There are numerous breeds of chickens and I have no clue which brand we hatched . . . I forgot to ask the farmer. I am not an expert and am simple a home educating mom hatching some chicks and having great fun learning and exploring.
We ended up with 19 little chicks and had a blast. We so wanted to keep them, but relinquished them after three weeks to the farmer.
I would love to have some chickens to lower my grocery bill. Just imagine how tasty fresh eggs are! I wouldn't have to worry about chemicals passing through the eggs either!
If you want to get started and hatch your own chicks, here are a few things you will need to get started.
How To Raise Chickens
1. Incubator. There are a variety of sizes and styles.
Once the chicks have hatched, dried and fluffed up, you can move them to a container.
1. Heat lamp. Once the chicks are born, they need to be under a heat lamp.
The reason you want the heat lamp is because the chicks do not have their feathers when they are born. It takes 4-6 weeks until a chicken is fully feathered. The chicks need a 95 degree area when they are born. After a week, you will notice the feathers coming in and you ca move the heat lamp further away or select a different light bulb. I start out with two lights and then downgrade to one light. I have a red and blue light bulb. They seem to sleep better with the red light. The light needs to be on the chicks 24 hours a day.
2. Water. The chicks are growing and are constantly thirsty. I refill the water container a couple of times a day. They also love to throw in the bedding, so the water gets dirty quickly if not elevated.
3. Food. I purchased chick starter food at a local farm store. The chicks will eat this food for quite awhile.
4. Plastic bin or box to keep them in for the first couple of months.
The first week or so I use a plastic tube and then move them to a small cage after the first week.
5. Bedding to put at the bottom of the bin. It is the same bedding purchased for rabbits. The following week I used shredded paper bedding. The chicks really enjoy chasing each other with pieces of colored paper bedding. The third week I continued with the paper bedding and also added hay, which they loved!
My kids can't wait until next year to do this unit study again!
Do any of your advice for hatching chicks or raising chickens?
Are you crazy for chickens like we are?


